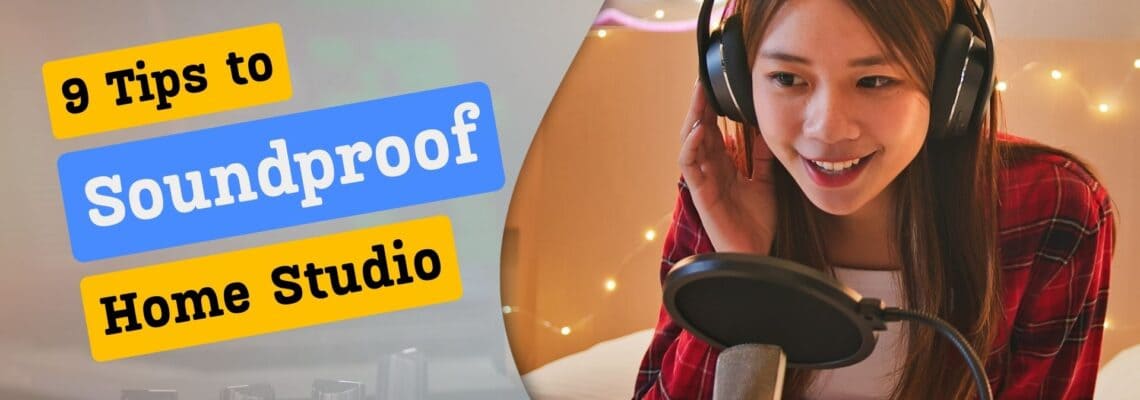
Welcome to the world of soundproofing, where the symphony of your creativity meets the tranquility of a well-insulated space. If you’re diving into the realm of home studio recording, you’re in for a thrilling ride. But, before you crank up the volume, let’s ensure your sound stays where it belongs – inside your studio.
The Science Behind Soundproofing
Before we embark on the soundproofing journey, let’s understand the science. Sound is a tricky creature; it loves to escape and dance through walls. To keep it in check, we need to create a fortress of silence. That’s where how to soundproof your home studio comes into play.
Mastering the Basics of Home Studio Soundproofing
To embark on your soundproofing journey, it’s crucial to grasp the foundational principles of home studio soundproofing. This involves a nuanced approach encompassing absorption, decoupling, and damping to minimize sound transmission effectively.
Choosing the Perfect Home Studio Location
Your first step is to carefully select an optimal location for your home studio. Opt for a room distanced from high-traffic areas and external disturbances, minimizing potential disruptions. Ideally, choose a space with fewer windows, as these can pose challenges in achieving effective soundproofing
Banishing Sound Leaks: Seal Gaps and Cracks
Sound waves are notorious for exploiting gaps and cracks in walls, windows, and doors. A meticulous inspection of your studio space is paramount to identify and seal these openings using weather-stripping, acoustic caulks, or door sweeps, thwarting external noise intrusion.
Elevate Acoustic Ambiance with Panels and Traps
Strategic placement of acoustic panels and bass traps is pivotal for combating sound reflections and echoes. These panels absorb and diffuse sound, especially in corners where sound tends to accumulate, ensuring a controlled and pristine acoustic environment.
Amplifying Mass: Double Up on Drywall
Boosting the mass of your walls plays a pivotal role in sound insulation. Consider adding a second layer of drywall, coupled with damping adhesive, to enhance density and curtail sound transmission—particularly effective in minimizing the impact of low-frequency sounds.
Achieve Sonic Independence: Decouple Your Equipment
Decoupling is a game-changer in preventing vibrations from sabotaging your recordings. Isolate studio equipment, such as monitors and microphones, using isolation pads or stands to sever the connection between the equipment and surfaces, ensuring crystal-clear audio.
Curtain Call: Harness the Power of Heavy Curtains
Windows are often the Achilles’ heel when it comes to soundproofing. Counteract this by adorning your windows with heavy curtains or drapes crafted from dense fabrics, acting as an additional barrier against external noise infiltration.
The Vocal Haven: Consider a Vocal Booth
For those focused on vocal recordings, investing in a vocal booth can be transformative. These fully enclosed spaces isolate sound sources, shielding recordings from external interference and ensuring unparalleled audio clarity.
- Also read: Ultimate Vocal Warm-ups for Voice Artists
FAQs – How to Soundproof Your Home Studio
Q: Can’t I Just Use Egg Cartons?
While the internet might suggest egg cartons as a DIY solution, they’re not the knights in shining armor you need. Invest in professional soundproofing materials for a fortress-worthy defense against sound.
How Do I Know If It’s Working?
Conduct the “Midnight Test.” Turn up the volume inside your studio, step outside, and listen. If the sound is as faint as a distant whisper, congratulations – your fortress is holding strong!
Is Soundproofing a One-Time Job?
Think of soundproofing as a long-term relationship. Regular maintenance ensures your fortress stays impenetrable. Check for gaps, update insulation, and make sure weather stripping is still in top form.
Conclusion
Congratulations, maestro! You’ve just orchestrated the perfect symphony of silence for your home studio. Armed with the right knowledge and a touch of creativity, your soundproofed fortress awaits the magic you’ll create within its walls. Now, let the recording sessions begin!

